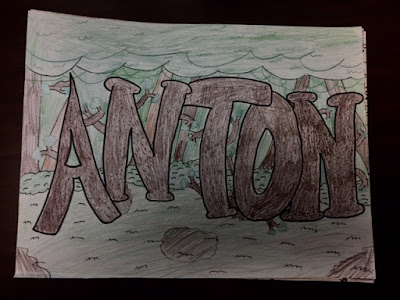
I can't express how impressed I am with the students' final project. With all of the excitement and time constraints that come with the end of the year, the students approached this project with so much enthusiasm and creativity! I can't wait to do this again next year (only, DEFINITELY allowing more time)!
The process of our apparel project, like most of our projects this year, included several complex steps. The students were tasked with choosing an item (we had everything from socks to t-shirts to tote bags!) and planning out a customized design.
I began by showing them an example that I had created on one of our classroom aprons:

 This was created by cutting a paper snowflake (see our color wheel project) out of this projects secret weapon.... FREEZER PAPER.

Freezer paper is available in the grocery store near the aluminum foil and wax paper. I had gone ahead and purchased a huge roll with a stand from Amazon because of the quantity I knew I'd need for the students. Freezer paper can be used for many things, but it is great for printing on fabric!
The process is to draw or generate a design, trace the design (with a light table) onto the freezer paper, and cut it out with an exacto knife. In the interest of safety, I purchased some excellent, safe, ceramic cutters for my classroom.

These cutters can cut only through one piece of paper at a time with a tiny ceramic blade. They cannot cut skin. Because the blade is so small, it takes a bit of practice to get the angle just right to make a nice, clean cut. I was impressed with the maturity of which the students handled the cutters. Although a challenge to learn, most students became quite capable of making precise cuts with the Slice cutters.
Once the students had cut out their designs, I used an iron to iron them onto the fabric. The plastic backing on the freezer paper is the real trick to this step. The plastic melts slightly under the heat of the iron and adheres to the fabric. The students could then use a sponge to apply acrylic paint over the design without having to hold anything in place or worry about the paint bleeding through. Once the paper is peeled off, the crisp, stenciled design is left behind.
I was able to take a few photos of designs that students printed onto their items. All of the visitors to our classroom over the last couple weeks have raved over the craftsmanship of the items. I have loved the chance to end the year with these artists personalizing items that I know they will have for years to come!


This printing method works well on all colors of fabric (as seen on our cardboard models!) Excuse the haphazard layout of some of these photos as we had to use every available inch of our room to dry them!


 This printing method works well on all colors of fabric (as seen on our cardboard models!) Excuse the haphazard layout of some of these photos as we had to use every available inch of our room to dry them!


