Wednesday, December 9, 2015

Gallery of Animation Cels

The students have been working hard on completing their hand-painted animation cels. It's so much fun to see their imaginations running wild! We have a awesome collection of uniquely designed characters ranging from robots to humans, animals, and monsters, and machines!

When they are complete, the students are submitting photos of their finished project to their online digital portfolio via Google Classroom. Here are a few that have been submitted so far:


I will post a large gallery of work next week once more are submitted!

Painting Social Snowmen!

We had our first of two art workshops this week and had a great time! Monday was a grade 5 & 6 painting social and Tuesday was a grade 3 & 4 painting social. Both groups painted snowmen.

We used a step-by-step method to paint with acrylics on canvas. The format was similar to adult "Paint Night" socials held in restaurants or at private studios. We painted our backgrounds, had a snack, painting our snowmen, and added our own unique accessories. Although the subject was the same, all of the artists put their own creative twist on their paintings and each snowman came out different.


Tuesday, November 17, 2015

Original Animation Cels

The past week we have been exploring the idea of creating multi-layer images the way they were created years ago in traditional cel animation (the last cel-animated Disney movie was The Little Mermaid).
Animation cels are named as such because the characters are designed and hand-drawn onto clear celluloid sheets. The characters can then be painted and placed in front of painted backgrounds. In animation, thousands of these cels would be taped with a camera and could create the illusion of depth of a character in front of a background.
Although we won't be creating thousands of cels for animated shorts, we are creating single cels by hand and, later in the year, we will create multi-layer images digitally. I think the students will see quite a difference!!

I showed them an example of how the layers work together to make one cohesive image:
(excuse the chipping paint... this guy has been through a LOT the past two weeks!)

To begin, the students were tasked with creating their own character. I gave them some drawing sheets and we looked at books for inspiration, but ultimately the characters were unique and the only rule was that the students had to love them. We have humans, animals, monsters, and even machines! The wide variety is making these classes really fun! 

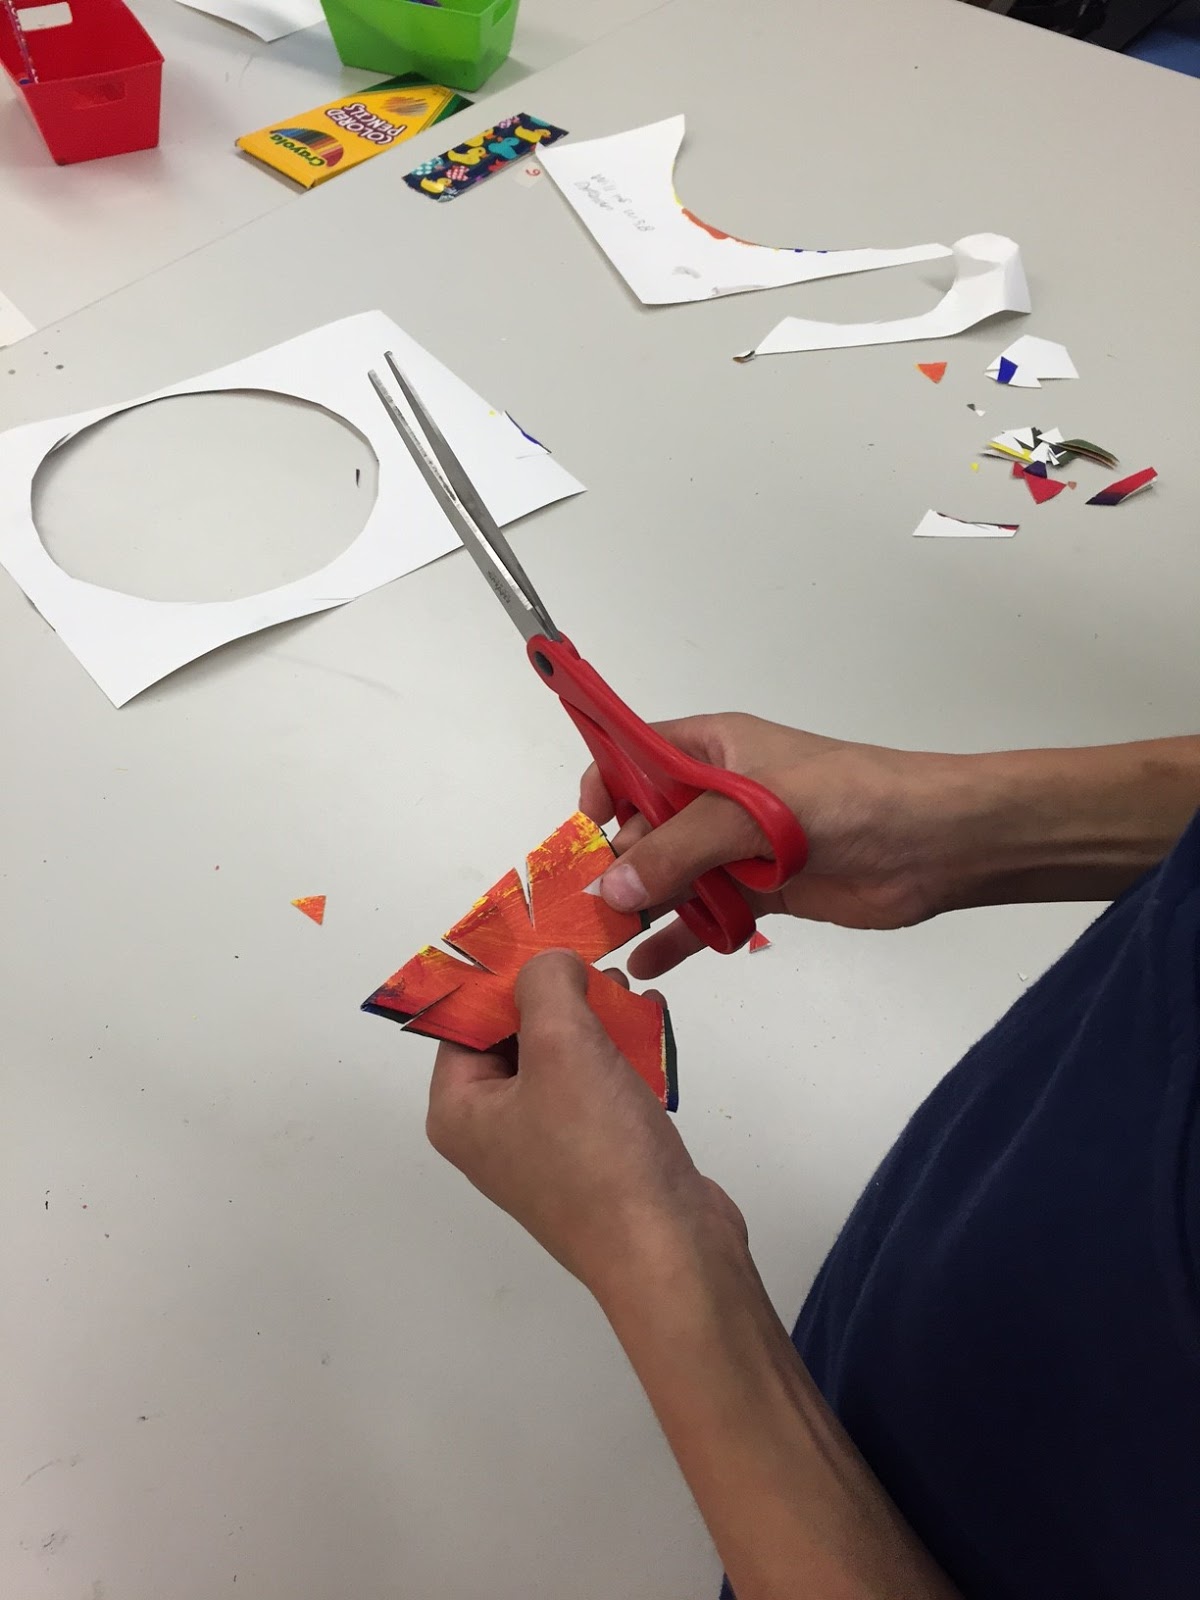
Many students sketched out several ideas during our drawing brainstorm class before ultimately settling on "their" character. Once they had settled on a design they were able to trace it onto the cel sheets (a great use for leftover overhead transparency!).

Many students this week are ready to start working on painting their backgrounds. We are using a method of sketching out our ideas very lightly with pencil, then tracing the lines with crayons and using the wax of the crayons to add texture before painting with the watercolors. The students have liked the way that the crayon adds interest while helping them to control the watercolor (the wax acts as a bit of a barrier between sections. Although unfinished, they are coming out great so far!


I can't wait to see these characters come to life when the students paint them in!


Tuesday, November 10, 2015


Registration is now open for our NEW after-school art program! There are workshop offerings for all Oak Ridge students in grades 3-6. See the link below for workshop descriptions and dates!

Wednesday, November 4, 2015

Fundraiser Update!

Our after-school program has been completely funded! We had donations from many personal friends, family members, parents of students, local community members, and even from donors as far as Delaware, Texas, and Arizona! The after-school art program is now able to be offered free of charge to all 4-6 grade students thanks to these generous donors. Stay tuned for workshop descriptions, schedules, and sign-up information.

From me and my wonderful art students:

Beautiful Color Wheels

Last week we completed our two-part color wheel project. I was quite surprised at how varied the students' color mixing knowledge was! The best way to learn how to mix secondary colors is by using paint to mix secondary colors, so that's just what we did. We began with a discussion of the color wheel.
We identified the primary colors and talked about what makes them unique and how we can use them to mix any other color we need (secondary, tertiary, and beyond). Then the fun began. I gave each student a paper plate palette with the three primary colors and a blank color wheel. The students mixed their own colors and it was fun to see all the variations that could be made with the same 3 primary colors of tempra paint. 


The color wheels were left to dry and the following week we used them to created beautiful kaleidoscopes of color. Most students had experience cutting out paper snowflakes, but not with circular paper. We folded the color wheels so that we were able to make cuts that would created a repeating pattern with each color. We discussed how folding the paper and cutting the shapes would create symmetrical figures and scrap paper was provided in case some wanted to practice shapes before cutting them into the color wheels. We also talked about scissors: how they work and how to use them with the best results. Sometimes its the smallest things that make a BIG difference!

The results were beautiful, creative, and unique. Just like snowflakes, no two color wheels are the same!


MYSTERY ARTIST OF THE MONTH!
Last month's Mystery Artist was The Starry Night by Vincent Van Gogh.

Here's the Mystery Artist for November:

Good Luck!


This week we will begin creating our own multi-layer cartoon cels!


(A beautiful gift from a 5th grade student- how lucky am I?!)


Sunday, October 25, 2015

After-School Art Program Needs Your Help!


Help me launch an after-school art program for students in Sandwich!

I am asked DAILY by students for extra art opportunities and would love the chance to run an after school art program that would let them try out different mediums. I am working to put together a program of workshops that students can sign up for, but I need help with the initial materials cost.

We need $1,186 worth of supplies to get started with a series of eight 2-hour art workshops. This works out to less than $5 per student! Once my project is fully funded, DonorsChoose will send the supplies we need directly to the school via Amazon Prime.

Use promo code SPARK at checkout for the next 7 days and DonorsChoose will match your donation dollar for dollar (up to $100)! This means that $593 would fully fund this art program for my students! 

Click on the link below to read more about this project. Thank you for your support!

Click HERE to learn more and donate!


Wednesday, October 21, 2015

Scenery in Shades and Tints

Last week we continued our color study by looking at how we can change a color simply by adding small amounts of black or white. Adding black to an original color gives us shades of that color; while adding white gives us tints.
The concept is best illustrated in a color gradient like this one:
I think every student recognized the gradient and was able to note other places they have seen similar gradients. One of the most common responses- paint chips! 


We used paint chips to create small, monochromatic scenes. Using only shades and tints of the color the students were able to show distances and a variety of landscapes from mountains, to deserts, to oceans. Adding their own unique human/object/animal silhouettes made each piece unique. 
I was amazed at the creativity and craftsmanship that the students displayed through this project. 


 Donations Graciously Accepted!
To keep our room healthy and operating smoothly we are in need of the following items:
- Tissues
- Baby Wipes/ Hand Wipes
- Paper Plates
- Hand Sanitizer

We could also use the following items for upcoming projects:
- Lightweight Cardboard
- Leftover scrapbook paper or wrapping paper (used is just fine!)

Thank you in advance!